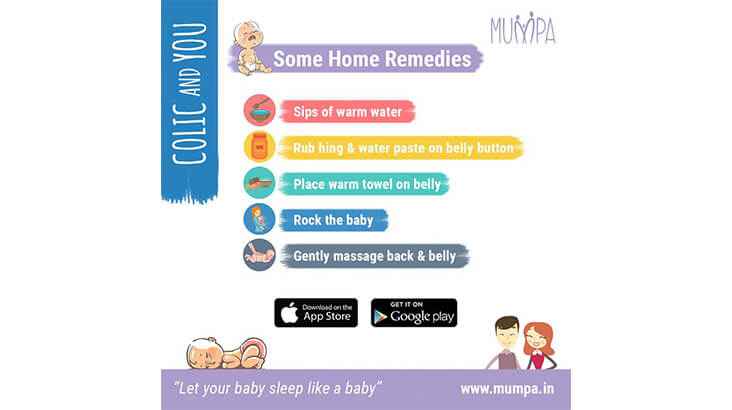
We know the pain that you experience when your baby cries in the middle of the night inconsolably!

We know the pain that you experience when your baby cries in the middle of the night inconsolably!


Are you at a loss at deciding on a short meaningful activity to do with your child at home?
Here’s an activity that will help you teach your child the sequence of numbers and allow you quality time with your child.
So, go ahead and spend some time with your child with this fun number game.
Age Group – 2yr +
Activity Duration – 10 mins
What do you need for this activity? A set of magnetic number toys.
Activity Preparation – Put magnetic numbers up on the easel or fridge.
Ask the child to put the numbers in the counting sequence. 1 – 2 – 3 upto the number that the child can count.
Older children can be asked to put the numbers in the reverse sequence, ie. 5 – 4 -3 – 2 – 1 as well.
Questions that you should ask the child while playing this game
What comes after 3? Which number comes before 7?
What does the child learn from this activity? The concept and sequence of numbers.

It’s a titillating moment for every parent, including me – the baby’s very first toothless bite.
I was completely in favour of breastfeeding on demand, at least till the baby was a year old. But starting external food would hopefully bring down the established two hourly feeding rituals we shared, or so I believed. We waited for our baby’s lead and his longing drools made it only obvious that it was time.
With excitement I discussed the possible first foods with the paediatrician and was all set to begin experimenting with varieties. Little did I know that the rest of the world was ready with advice on what’s and how’s of first foods. Keeping my decision firm, I followed the paediatric diet chart which mostly suggested one type of food for a week, just to see how the baby’s poop reacts to it. Well, it’s a parenting reality – you never take as much interest in the color or texture of the poop till you have a baby!
It was only logical that you begin with a mashed banana or likes – it’s tasty, soft and toothless friendly. But one advice did come out interestingly true – don’t grind the food, just mash with a spoon, else the child will never learn to chew. Even with the minor chunks my baby gagged in the beginning. He was still learning how to eat and we both reacted with our natural instincts – I freaked out and he promptly spat out what he couldn’t swallow, all without my help! It also didn’t take long to realize that no matter how much he ate or didn’t, he still wished for his all-time any-time favorite dessert – breastmilk, and I always granted his wish.
Soon enough the new found excitement he shared for food died. His tiny stomach could eat very little or at times nothing through the day. He had also started teething which increased the frequency of his comfort feeds. Forcing food against his wish was not an option unless I would rather have him develop aversion to eating altogether. Even his babbles were persuasive, leaving me with no alternative but to let him choose how much he wished to eat – after all babies will never stay hungry, neither will they over eat.
As weeks passed, he found new interest in grabbing the food by himself. I took his lead and changed the all-spoon menu I proposed. I started offering finger foods, par-boiled carrot and skinless thin fruit slices were his new favorites. It did wonders – his love for food returned and we accidently found a healthy teether toy in his finger foods! His gums, as sharp as his new teeth, pierced through them with ease. The ‘no spoon feeding’ move was backed by many, affirming he will be a healthy eater with no obesity concerns.
Well this path had its forks, he made a complete mess, explored the various textures by tearing/throwing/mashing on the floor and maybe taking a bite in the middle of this fun play time. But at least he had finally started relishing the concept of eating and watching him enjoy made me smile. Somehow, the after cleaning didn’t. But with little patience I soon realized how he grew up to be an independent eater who would demand food when hungry. Running behind him was always for play, never for food. His taste buds uniquely identified the eatables, picking varieties in a single meal and soon enough he started self-weaning from feeds. He now shared love for food like a connoisseur – what more would a parent ask for!

I love to cook; always different varieties for the various meals of the day. But after the baby, most of my time was consumed in feeding the baby, just about finishing the house chores and possibly catching a quick nap in between all the chaos. My hubby took over, but the super dad ‘chef’ hated cooking by the book.
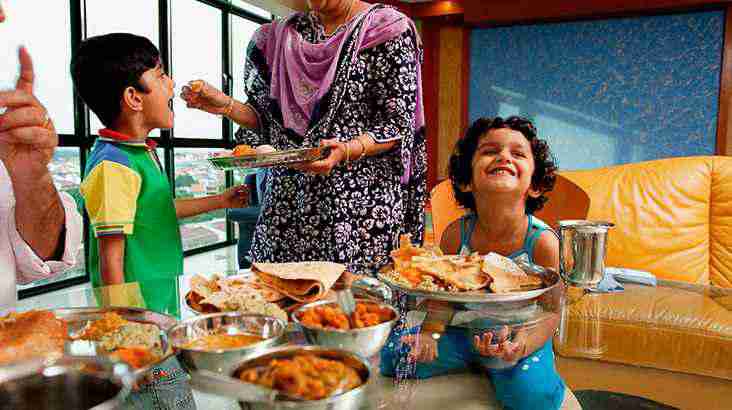
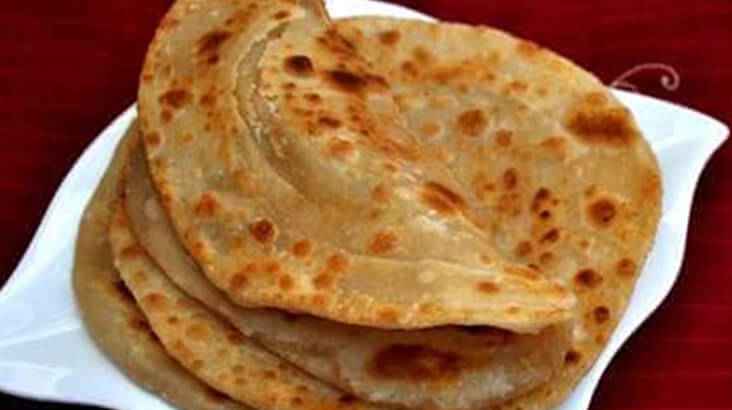
And so began his new project, ‘experimenting with paratha’. We all mostly try out the different fillings – such as fruits, eggs, veggies or a combination, or at most replace ghee with oil while pan frying the paratha. But he came up with some brilliant and tasty ideas I had never thought of before – no wonder all the best chefs we know are mostly men!
After a lot of persuasion, my chef finally revealed his secret ingredients in his own unique style, by making me his assistant during his dinner cooking session! The ‘paratha formula’, as we call it, now held a special place not only in my appetite but also in my recipe book…
**The Multi Flour Trick** – wheat, gram (besan), millets (ragi, jowar, bajra), oats – name it and he would have thought of adding it in different combinations. The most basic yet nutritious way of making the dough healthier!
Excitedly I tried my hands on it later the same day. My first dough came out sticky while using gram flour. I missed reducing the usual water quantity while kneading, a mistake I’ll never forget because it took forever to flatten the parathas without tearing them. The second dough was a combination of millets. This was easier to flatten with hands as it could break easily if rolled. It somehow felt drier after cooking, but with a spread of ghee on it, it was absolutely perfect and tasty!
**Crunchier is Tastier** Yes, we have all thought of adding carom seeds (ajwain) or fennel seeds (sonf). But he would coarse grind flax seeds or dry fruits and add it to the dough while kneading, making it crunchy. He would at times add mint (pudina) /curry (kadipatta) /fenugreek (methi) or even coriander (dhanya) leaves/flakes making it even tastier!
The true ‘Mineral’ Water – Finally to knead the dough he used pulses (daal) water, rice water or milk sharing a nutritive ‘mineral’ water in its true essence!
**Blend in the ‘Blend’** – Now this one took me by complete surprise! We had recently tasted a ‘beetroot’ flavoured pizza base, but it can only take a good eye to realize its application in Indian breads! All he did was blend veggies/fruits into purees and use this mash to knead the dough – nutritive and unique color/flavour every day!
These ideas did great when I eventually had to start finger foods for my baby since he had limited attention span, or for a fact appetite, to take interest in multiple meals or varieties. It became our family favorite – the one dish that could be a complete package in itself.

Like Aladdin’s treasured lamp, my baby discovered the ‘spoon’ in my hand one fine day, although he had been eating from it every single day! The independent thinker suddenly made a decision – he was a big boy and definitely not going to be ‘spoon-fed’ by his mom anymore. I just managed to grab the soup bowl in time before he spilt it all while experimenting with the spoon he had just snatched from my hand. Impulsively I snatched it back. Not the best thing to do. He was furious and stubbornness dripped from his face as he refused to take another bite till I let him play with the spoon. Torn between the mess I knew he would make and the idea of him being an independent eater, I suddenly found myself scratching the creative segment of my grey cells.
**Shopping**; and hence we began with my favorite part. I found him a pack of new first timer spoons, vacuum base bowls/plates and many other ‘futile’ items. I soon realized that the vacuum bowls were a big distraction; he spent a focused hour on releasing the vacuum. So I had to move back to normal boring bowls. The spoons were a better purchase, or rather thankfully one of them was. With a shorter gripping handle and flatter scoop area my baby was able to enjoy his spoonful.
**Gooey meal works**; even though it doesn’t sound yummy. Sticky rice, thick yogurt and porridge were perfect starters. Even though he didn’t know how to scoop the meal, he could still dip the spoon and lick all that came out sticking to it.
Mess is good. This became my new moto if I had to join his journey from fingers to spoons. He made a huge mess in the excitement. He used both hands, held the spoon from the other end and spilt the contents of the bowl on the floor. Not one part of his body was deprived of this delicious mealtime fun. But as they say – you learn right only if you mess up a few times!
**Mealtime is game time**; and the baby didn’t even realize he was learning. Every time I tried to hold his hand to show him how ‘scoop and eat’ works, he would pull back in irritation. I had to make it interesting else we were never going to graduate from this mess. I initiated his sand play time; it was easier to teach him to scoop and drop with his bigger sand tools and unlimited plate area of the sand park. At times, he just played with an empty bowl and spoon just to enjoy the concept altogether. Our special mealtime play included ‘share and eat’ where he would feed me a few times in between, just so that he can catch the perfect technique with a little guidance.
With the stage set all I had to do was sit back and relax; the pro was busy with his spoon and bowl!

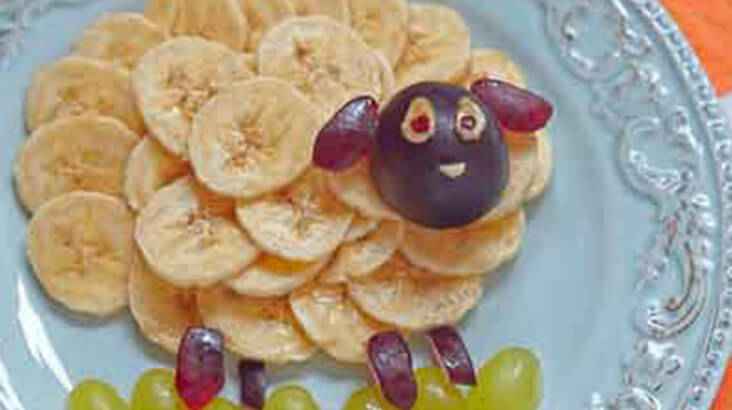
Kids need to eat every few hours. We can use snack time to get good nutrients to the child! Here are some fun snack ideas which are not only cute but can also be made in advance so you can grab them and..GO!
These nuts will definitely make your tot’s mouth and tummies a lot happier.
It’s a nutritious, delicious and perfectly fun “after play” snack option.

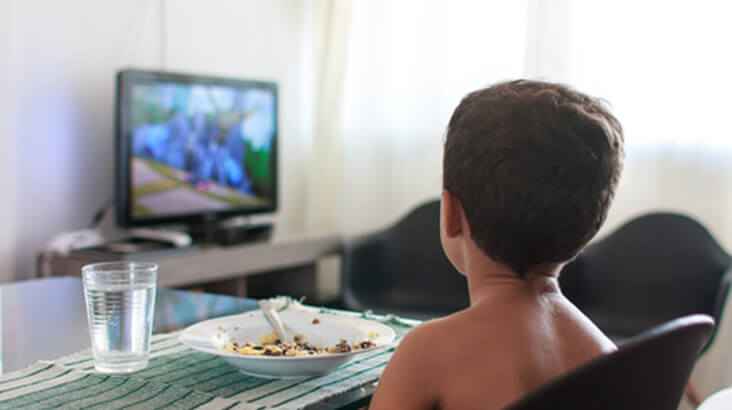
Is your child watching too much television or spending too much time watching other screens (read tablet, mobile, ipad)? Does your child choose the screen over spending time with you? Do you think it is an an arduous task to keep the child engaged without the help of screens? If the answer to these questions is a yes, then it is about time you did something to change the status quo! It can begin with implementing some strict and some simple measures. Here are some tips to keep away TV, mobile, gadget screens. Reduce child’s screen time for healthy growth & development.
While TV watching is easy to restrict, restricting screen time on tablets/phones may require a few tactics. Start with uninstalling apps and blocking sites on your phone which the child watches a lot. It will create an immediate disinterest for the phone in the child.
If turning off your TV completely doesn’t sound as a good option to you, discuss with your kid, and plot TV viewing time. Ask your kid which show they like the most and then tell them that those are going to the be the only programs they can watch(consider a time limit of 1-2 hrs per day).
Like there is a fixed time for watching TV, there has to be a fixed park time (outdoor play time). Accompany them to parks and pools and play with them EVERYDAY! Once they develop interest in outdoor activities encourage them to go by themselves (if they are old enough) and play with friends. This will automatically make them keep away TV, mobile, gadget screens. Reduce child’s screen time in a way which supports their physical growth!
For indoor activities you can provide necessary resources like books, board games, art supplies, etc.
Bedrooms are for peace, rest and quiet play. Therefore, TVs in bedroom are not at all acceptable. Kids programs deliberately aim at keeping kids interested through energizing them. That’s why keeping TV in common rooms is the best option.
Limiting your child’s screen time may seem like an impossible chore or it may seem like a battle that is too difficult to fight. But it’s a battle worth fighting.
“I am bored” is one phrase I dread hearing from my son; which I may say is quite often in the summer holidays. The best indoor activity to engage kids productively is “Do It Yourself” crafts. They are not only fun but very educational. Here are 5 of the most interesting DIY crafts my son enjoys. I am certain that your children are going to adore these simple projects and you may just find yourself enjoying them as well.
For the below mentioned crafts, basic materials needed are glue/fevicol, coloured wrapping paper, cotton swabs, glitter, paints, crayons, pencil.
**Empty Pepsi/Coke bottles** – I am sure, there are plenty of empty coke/pepsi bottles in the house. Cut the bottle into half with a warm knife (that’s your job mommy). Get ready to create beautiful pen/spoon stands with the lower part of the bottle. Let your child cover the bottle with coloured craft paper. My favourite is black paper and using white paint to make funny faces.
Talk to your child about how birds also need to drink water and how they can help. Decorate the bottle with your favourite colours and paints. Join the top part of the bottle and hang in your garden. Fill it with water or seeds.
**Ice cream sticks**– are easily available in the market. Colour the sticks in various shades and let them dry. Use fevicol to attach the sticks to make photo frames, rectangle shaped coasters. Kids, in this process will also learn about shapes and colours. Another creative way to use ice cream sticks is to make puppets and bookmarks. Use glitter to decorate and make it look beautiful.
**Old CDs**– With plenty of unused cds at home, these can be converted into beautiful looking wall hangings. Colour the cd with black paint and let it dry. Use a sketch pencil to make artistic shapes and designs. Let the child be creative and doodle on the cd the way he/she wants to. Now hand them white paint and let them highlight their sketches/drawings. Choose a favourite corner to hang them or string them together. Use glitter, craft paper, pieces of yarn to create decorative stuff.
I created my son’s weekly meal chart in the form of a caterpillar created by unused cds and placed it in the kitchen.
Paper cup lamp– This is something new and requires the least raw material. There are paper/plastic cups available in the market. Staple/use glue to stick the cups together and form a base. Keep adding cups till it forms a round shape. Supervise your child if you are using a stapler. Take the help of the local electrician and wire them accordingly. Add an LED bulb and voila!!
**White paper plates**– Creative pieces can be made with white paper plates which can be used as wall hangings or gift items.
Butterfly- Cut the opposites of the paper plate in a triangle shape. Turn the plate and decorate it with glitter, and unused buttons and stickers. Use pieces of yarn to make 2 antennas.
Fish– Colour paper plate with your choice of bright colours. You can stick buttons or draw the eyes, and use chart paper cut outs to make fins and tail.
Sun & Rainbow– Fold a paper plate in half. Use pieces of different colour yarn to create a rainbow and hang in the study area of the child. Talk about different colours and what causes the rainbow to appear in the sky.

The mercury has touched 44 degrees and it’s predicated to go even higher in the coming week. With the summer holidays just set in, mothers fear the most common consequences of heat exposure -sun strokes, nose bleeds, sun burn, appetite loss etc. Here are some ways to keep the kids safe from the sun stroke:
**Water**– Keeping the body hydrated is the key to withstand this scorching weather. Encourage your child to have as many glasses of water to avoid dehydration. Kids also sweat too much, hence it’s important to enrich their body with the right amount of salts and minerals. Drinks like lemon shikanji, watermelon juice, aam panna (recipe below) are tasty and also replaces the salt content in the body.
Boil one-two raw mangoes also known as kachhi amiya in a pressure cooker. Wait for it to cool, then peel off the outer skin and grind it in a mixer. A smooth base is now prepared. Mix the right amount of sugar, black salt, dried pudina leaves and bhuna jeera. Aam Panna concentrate is now ready. Mix ¼th portion of the concentrate with ¾ th portion of water. Add ice.
Restrict outdoor timings– As difficult as it may sound, avoid the outdoors between 12 noon to 6 pm. Prevention is better than cure.*
**Light Diet**– Prepare foods that are light and are easily digestible. The exposure of heat tends to slow down the digestion process of the little ones, so its better keep it light. Avoid paranthas, puris, junk food etc and include more salads made with fruits and vegetables like cucumber, kakdi, tomatoes and onions. Include dahi in the daily diet which is a rich source of calcium and aids in digestion. Lassi and Chaach are other variants of dahi that are also considered healthy.
Maintain the temperature- Switch off the AC at least 15-20 minutes before heading outdoors. The same way, make sure kids naturally dry up their sweat after coming back from the park so that their body temperatures align to the room temperatures. Avoid drinking cold water from the fridge just after an outdoor session to avoid a sore throat or a runny nose.
Dress up your child in light coloured clothes preferably cotton. The clothes should be loose fitted so as to let the skin breathe. Easy strap on Velcro sandals are the best footwear for kids in summers. While stepping out cover their head by making them wear a cap or a hat. You can also get eye shades to protect them from the harmful UV rays.
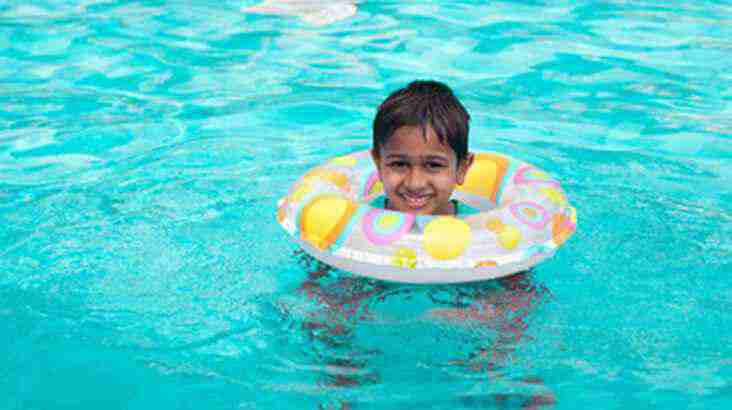
**Swimming**– One of the best ways to beat the heat is to get into the pool. Have a plunge in the swimming at the end of the day. It’s a great form of exercise and kids love it. There are many small sized inflatable plastic tubs available in the market which can be placed indoors. Plan an indoor pool play date.
Beat the heat tip– Daily intake of onions reduce the chances of getting a sun stroke. While travelling in long journeys in a car, carry cut onions in zip locks. Placing them on the child’s forehead brings down the temperature instantly.